Icinga2 Monitoring notifications via Telegram Bot (Part 1)

Photo by Kindel Media: https://www.pexels.com/photo/low-angle-shot-of-robot-8566526/
One thing I wanted to set up for a long time was to get my Icinga2 notifications via some of the Instant Messaging apps I have on my mobile. So there was Threema, Telegram and Whatsapp to choose from.
Well.. Threema wants money for this kind of service, Whatsapp requires a business account who must be connected with the bot. And Whatsapp Business means I have to pay again? - Don't know - didn't pursue that path any further. As this either meant I would've needed to convert my private account into a business account or get a second account. No, sorry. Not something I want.
Telegram on the other hand? "Yeah, well, message the @botfather account, type /start, type /newbot, set a display and username, get your Bot-Token (for API usage) that's it. The only requirement we have? The username must end in bot." From here it was an easy decision which app I choose. (Telegram documentation here.)
Creating your telegram bot
- Search for the
@botfatheraccount on Telegram; doesn't matter if you use the mobile app or do it via Telegram Web. - Type
/startand a help message will be displayed. - To create a new bot, type:
/newbot - Via the question "Alright, a new bot. How are we going to call it? Please choose a name for your bot." you are asked for the display name of your bot.
- I choose something generic like "Icinga Monitoring Notifications".
- Likewise the question "Good. Now let's choose a username for your bot. It must end in `bot`. Like this, for example: TetrisBot or tetris_bot." asks for the username.
- Choose whatever you like.
- If the username is already taken Telegram will state this and simply ask for a new username until you find one which is available.
- In the final message you will get your token to access the HTTP API. Note this down and save it in your password manager. We will need this later for Icinga.
- To test everything send a message to your bot in Telegram
That's the Telegram part. Pretty easy, right?
Testing our bot from the command line
We are now able to receive (via /getUpdates) and send messages (via /sendMessage) from/to our bot. Define the token as a shell variable and execute the following curl command to get the message that was sent to your bot. Note: Only new messages are received. If you already viewed them in Telegram Web the response will be empty. As seen in the first executed curl command.
Just close Telegram Web and the App on your phone and sent a message via curl. This should do the trick. Later we define our API-Token as a constant in the Icinga2 configuration.
For better readability I pipe the output through jq.
When there is a new message from your Telegram-Account to your bot, you will see a field with the named id. Note this number down. This is the Chat-ID from your account and we need this, so that your bot can actually send you messages.
Relevant documentation links are:
- User: https://core.telegram.org/bots/api#user
- Message: https://core.telegram.org/bots/api#message
- Chat: https://core.telegram.org/bots/api#chat
user@host:~$ TOKEN="YOUR-TOKEN"
user@host:~$ curl --silent "https://api.telegram.org/bot${TOKEN}/getUpdates" | jq
{
  "ok": true,
  "result": []
}
user@host:~$ curl --silent "https://api.telegram.org/bot${TOKEN}/getUpdates" | jq
{
  "ok": true,
  "result": [
    {
      "update_id": NUMBER,
      "message": {
        "message_id": 3,
        "from": {
          "id": CHAT-ID,
          "is_bot": false,
          "first_name": "John Doe Example",
          "username": "JohnDoeExample",
          "language_code": "de"
        },
        "chat": {
          "id": CHAT-ID,
          "first_name": "John Doe Example",
          "username": "JohnDoeExample",
          "type": "private"
        },
        "date": 1694637798,
        "text": "This is a test message"
      }
    }
  ]
}
Configuring Icinga2
Now we need to integrate our bot into the Icinga2 notification process. Luckily there were many people before us doing this, so there are already some notification scripts and example configuration files on GitHub.
I choose the scripts found here: https://github.com/lazyfrosch/icinga2-telegram
As I use the distributed monitoring I store some configuration files beneath /etc/icinga2/zones.d/. If you don't use this, feel free to store those files somewhere else. However as I define the Token in /etc/icinga2/constants.conf which isn't synced via the config file sync, I have to make sure that the Notification configuration is also stored outside of /etc/icinga2/zones.d/. Else the distributed setup will fail as the config file sync throws an syntax error on all other machines due to the missing TelegramBotToken constant.
First we define the API-Token in the /etc/icinga2/constants.conf file:
user@host:/etc/icinga2$ grep -B1 TelegramBotToken constants.conf
/* Telegram Bot Token */
const TelegramBotToken = "YOUR-TOKEN-HERE"
Afterwards we download the host and service notification script into /etc/icinga2/scripts and set the executeable bit.
user@host:/etc/icinga2/scripts$ wget https://raw.githubusercontent.com/lazyfrosch/icinga2-telegram/master/telegram-host-notification.sh
user@host:/etc/icinga2/scripts$ wget https://raw.githubusercontent.com/lazyfrosch/icinga2-telegram/master/telegram-service-notification.sh
user@host:/etc/icinga2/scripts$ chmod +x telegram-host-notification.sh telegram-service-notification.sh
Based on the notifications we want to receive, we need to define the variable vars.telegram_chat_id in the appropriate user/group object(s). An example for the icingaadmin is shown below and can be found in the icinga2-example.conf on GitHub: https://github.com/lazyfrosch/icinga2-telegram/blob/master/icinga2-example.conf along with the notification commands which we are setting up after this.
user@host:~$ cat /etc/icinga2/zones.d/global-templates/users.conf
object User "icingaadmin" {
  import "generic-user"

  display_name = "Icinga 2 Admin"
  groups = [ "icingaadmins" ]

  email = "root@localhost"
  vars.telegram_chat_id = "YOUR-CHAT-ID-HERE"
}
Notifications for Host & Service
We need to define 2 new NotificationCommand objects which trigger the telegram-(host|service)-notification.sh scripts. These are stored in /etc/icinga2/conf.d/telegrambot-commands.conf.
Note: We store the NotificationCommands and Notifications in
/etc/icinga2/conf.dand NOT in/etc/icinga2/zones.d/master. This is because I have only one master in my setup which sends out notifications and as we defined the constant TelegramBotToken in /etc/icinga2/constants.conf - which is not synced via the zone config sync. Therefore we would run into an syntax error on all Icinga2 agents.See https://admin.brennt.net/icinga2-error-check-command-does-not-exist-because-of-missing-constant for details.
Of course we could also define the constant in a file under
/etc/icinga2/zones.d/masterbut I choose not to do so for security reasons.
user@host:/etc/icinga2$ cat /etc/icinga2/conf.d/telegrambot-commands.conf
/*
 * Notification Commands for Telegram Bot
 */
object NotificationCommand "telegram-host-notification" {
  import "plugin-notification-command"

  command = [ SysconfDir + "/icinga2/scripts/telegram-host-notification.sh" ]

  env = {
    NOTIFICATIONTYPE = "$notification.type$"
    HOSTNAME = "$host.name$"
    HOSTALIAS = "$host.display_name$"
    HOSTADDRESS = "$address$"
    HOSTSTATE = "$host.state$"
    LONGDATETIME = "$icinga.long_date_time$"
    HOSTOUTPUT = "$host.output$"
    NOTIFICATIONAUTHORNAME = "$notification.author$"
    NOTIFICATIONCOMMENT = "$notification.comment$"
    HOSTDISPLAYNAME = "$host.display_name$"
    TELEGRAM_BOT_TOKEN = TelegramBotToken
    TELEGRAM_CHAT_ID = "$user.vars.telegram_chat_id$"

    // optional
    ICINGAWEB2_URL = "https://host.domain.tld/icingaweb2"
  }
}

object NotificationCommand "telegram-service-notification" {
  import "plugin-notification-command"

  command = [ SysconfDir + "/icinga2/scripts/telegram-service-notification.sh" ]

  env = {
    NOTIFICATIONTYPE = "$notification.type$"
    SERVICEDESC = "$service.name$"
    HOSTNAME = "$host.name$"
    HOSTALIAS = "$host.display_name$"
    HOSTADDRESS = "$address$"
    SERVICESTATE = "$service.state$"
    LONGDATETIME = "$icinga.long_date_time$"
    SERVICEOUTPUT = "$service.output$"
    NOTIFICATIONAUTHORNAME = "$notification.author$"
    NOTIFICATIONCOMMENT = "$notification.comment$"
    HOSTDISPLAYNAME = "$host.display_name$"
    SERVICEDISPLAYNAME = "$service.display_name$"
    TELEGRAM_BOT_TOKEN = TelegramBotToken
    TELEGRAM_CHAT_ID = "$user.vars.telegram_chat_id$"

    // optional
    ICINGAWEB2_URL = "https://host.domain.tld/icingaweb2"
  }
}
As I want to get all notifications for all hosts and services I simply apply the notification object for all hosts and services which have a set host.name. - Same as in the example.
user@host:/etc/icinga2$ cat /etc/icinga2/conf.d/telegrambot-notifications.conf
/*
 * Notifications for alerting via Telegram Bot
 */
apply Notification "telegram-icingaadmin" to Host {
  import "mail-host-notification"
  command = "telegram-host-notification"

  users = [ "icingaadmin" ]

  assign where host.name
}

apply Notification "telegram-icingaadmin" to Service {
  import "mail-service-notification"
  command = "telegram-service-notification"

  users = [ "icingaadmin" ]

  assign where host.name
}
Checking configuration
Now we check if our Icinga2 config has no errors and reload the service:
root@host:~ # icinga2 daemon -C
[2023-09-14 22:19:37 +0200] information/cli: Icinga application loader (version: r2.12.3-1)
[2023-09-14 22:19:37 +0200] information/cli: Loading configuration file(s).
[2023-09-14 22:19:37 +0200] information/ConfigItem: Committing config item(s).
[2023-09-14 22:19:37 +0200] information/ApiListener: My API identity: hostname.domain.tld
[2023-09-14 22:19:37 +0200] information/ConfigItem: Instantiated 1 NotificationComponent.
[...]
[2023-09-14 22:19:37 +0200] information/ScriptGlobal: Dumping variables to file '/var/cache/icinga2/icinga2.vars'
[2023-09-14 22:19:37 +0200] information/cli: Finished validating the configuration file(s).
root@host:~ # systemctl reload icinga2.service
Verify it works
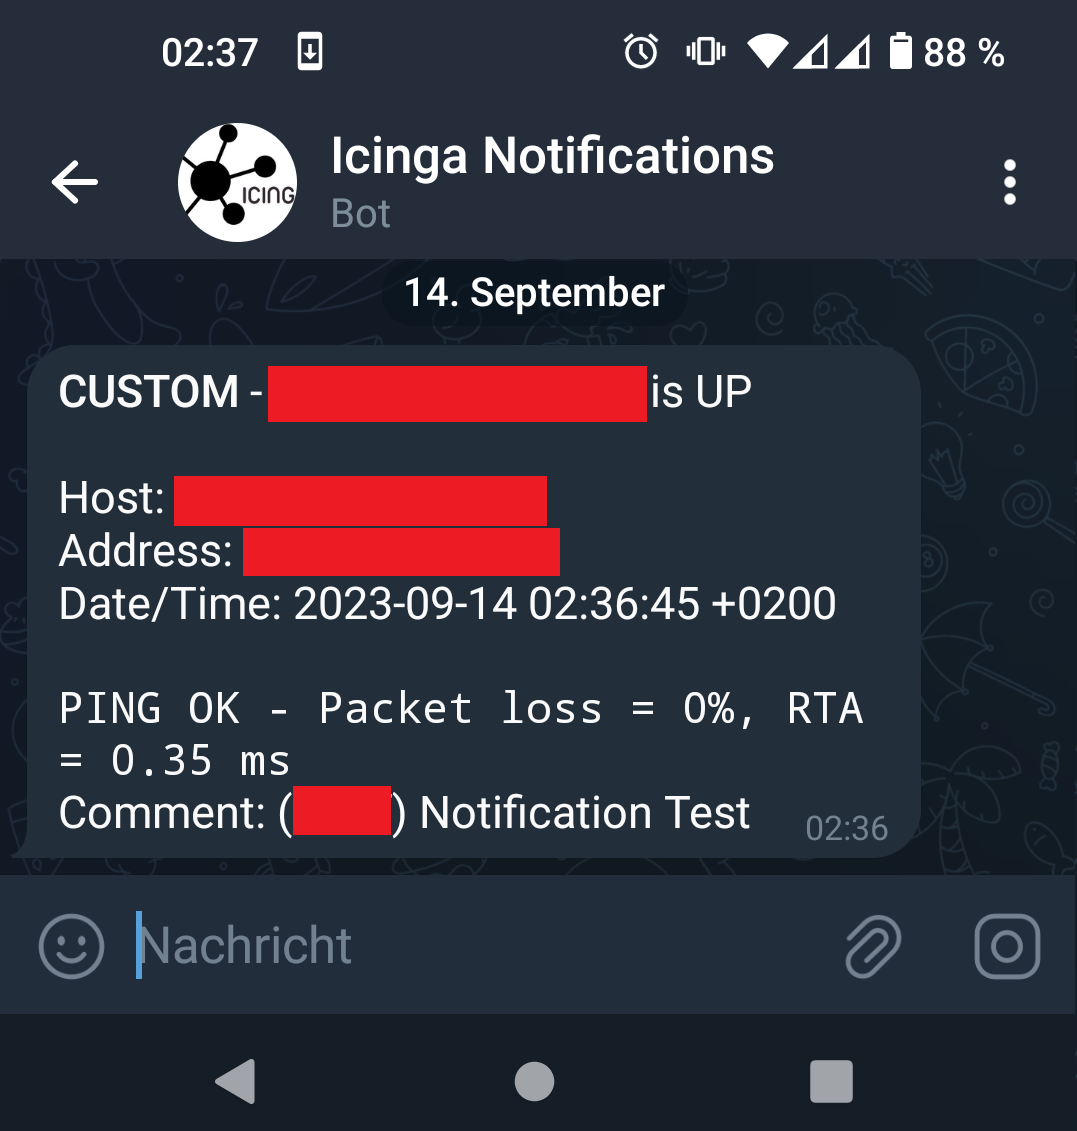
Log into your Icingaweb2 frontend, click the Notification link for a host or service and trigger a custom notification.
And we have a message in Telegram:
What about CheckMK?
If you use CheckMK see this blogpost: https://www.srcbox.net/posts/monitoring-notifications-via-telegram/
Lessons learned
And if you use this setup you will encounter one situation/question rather quickly: Do I really need to be woken up at 3am for every notification?
No. No you don't want to. Not in a professional context and even less in a private context.
Therefore: In part 2 we will register a second bot account and then use these to differentiate between important and unimportant notifications. The unimportant ones will be muted in the Telegram client on our smartphone. The important ones won't, and therefore are able to wake us at 3am in the morning.